

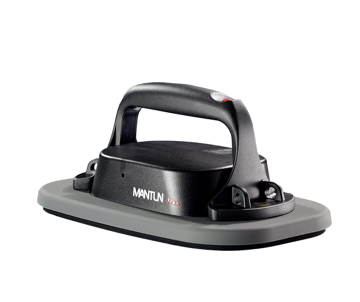
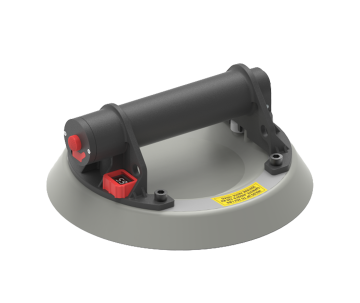
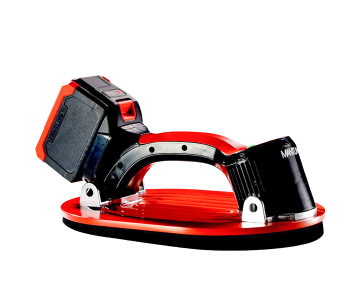

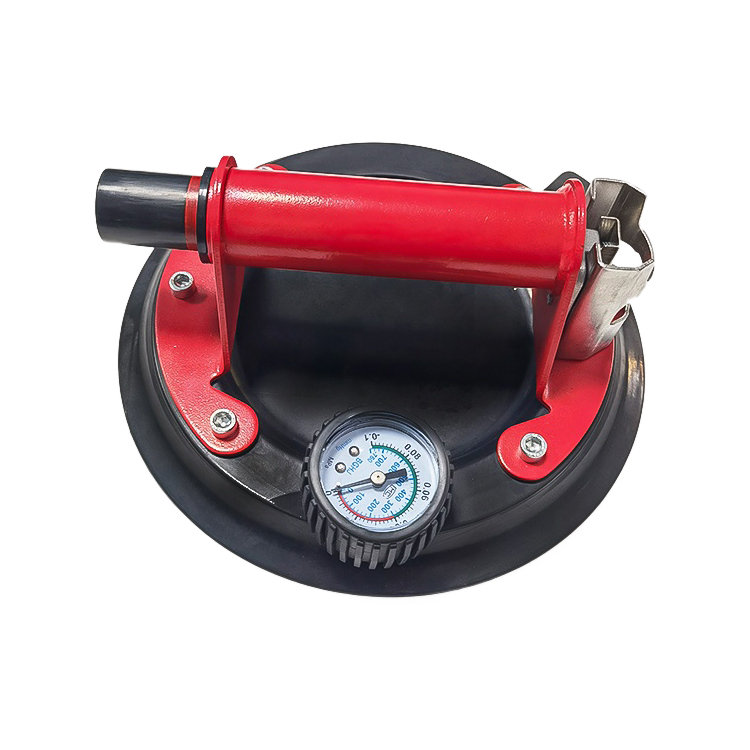













Complete Installation Guide for Electric Tile Suction Cup Users
Tired of wrestling slippery tiles like they’re escape artists, praying your suction cup doesn’t pop off and send everything crashing? You’re not alone—many DIY heroes meet their match the moment the tiles start sliding.
This Complete Installation Guide for Electric Tile Suction Cup Users shows you step‑by‑step how to secure tiles safely, boost grip, and cut mishaps. Backed by safe lifting best practices from OSHA’s recommendations (OSHA material handling guide), you’ll install with confidence instead of crossed fingers.
🧰 Pre-Installation Checks: Tools, Accessories, and Worksite Preparation Steps
Before you start, confirm that all tools, accessories, and tiles are ready. A clean, safe worksite helps your electric tile suction cup deliver strong and steady grip.
Check tile size and weight, then match them with your tool’s load rating. This avoids sudden slips and protects both your tiles and the motor.
1. Confirm Tool Model and Load Capacity
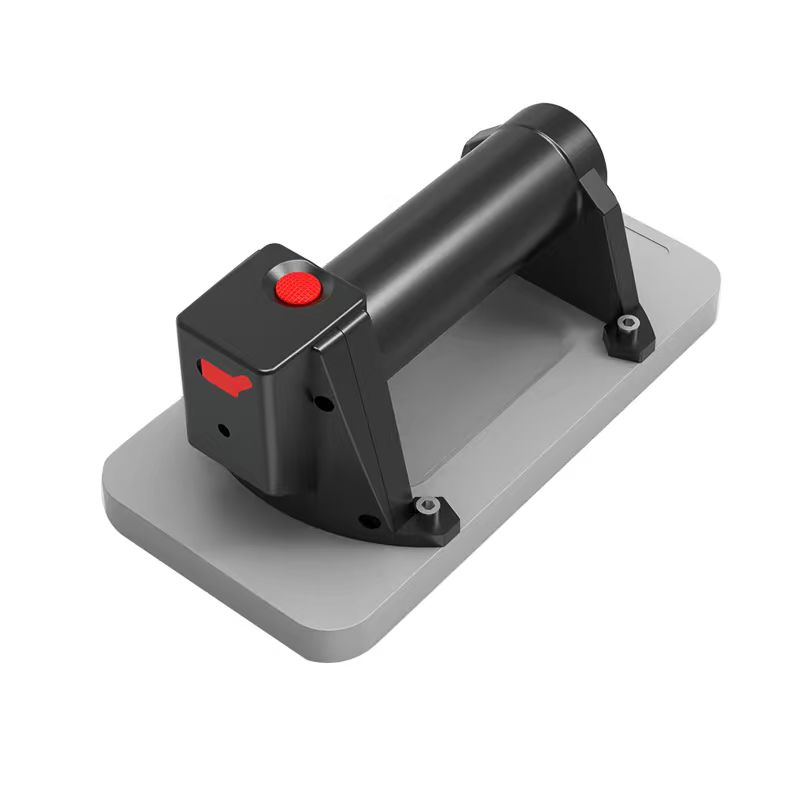
Match your suction cup model with tile size and weight. For small jobs, select compact tools like the YG2006 MINI electric vacuum cup for better control and comfort.
- Read the user manual label
- Note maximum load capacity
- Compare with tile weight
- Do not exceed rated load
2. Inspect Rubber Pad, Seals, and Housing
Carefully check the rubber pad and seals for cracks, cuts, or dust. Even small defects can weaken vacuum strength and cause tile movement.
- Clean pad with a soft cloth
- Avoid sharp tools on the pad
- Replace worn seals in time
- Store in a dry, cool place
3. Prepare the Worksite and Tile Surface
Dust, water, and uneven grout lines reduce suction. Prepare a flat, dry work area before using electric tile suction cups on walls or floors.
| Item | Requirement |
|---|---|
| Tile surface | Dry, smooth, dust‑free |
| Floor area | No loose debris |
| Lighting | Bright and stable |
| Ventilation | Good airflow |
4. Gather Essential Tools and Protection
Prepare extra tools so work flows smoothly. Use gloves and eye protection to handle heavy or sharp‑edged tiles with more safety and control.
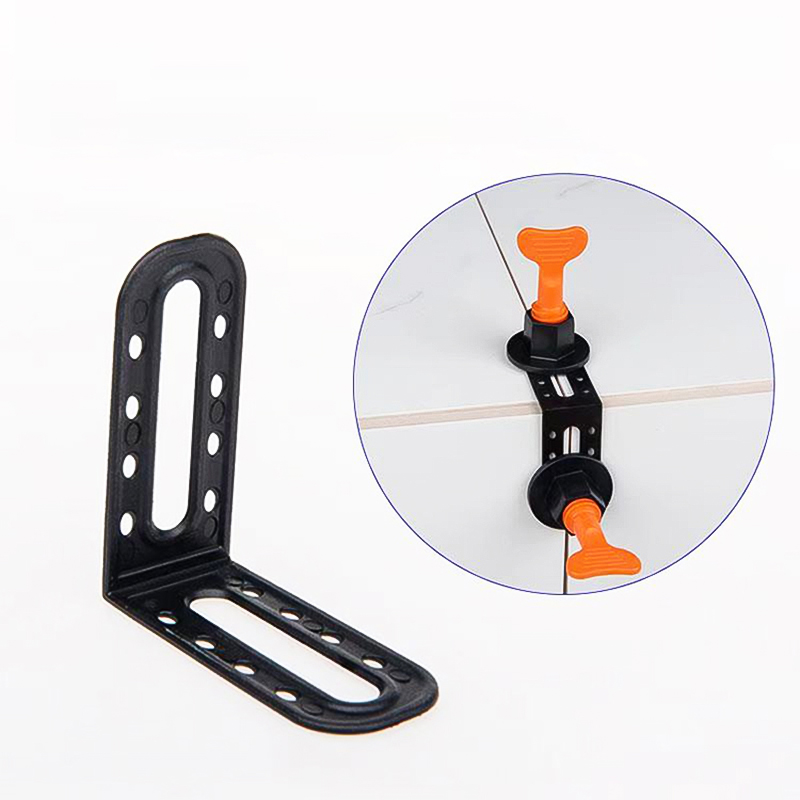
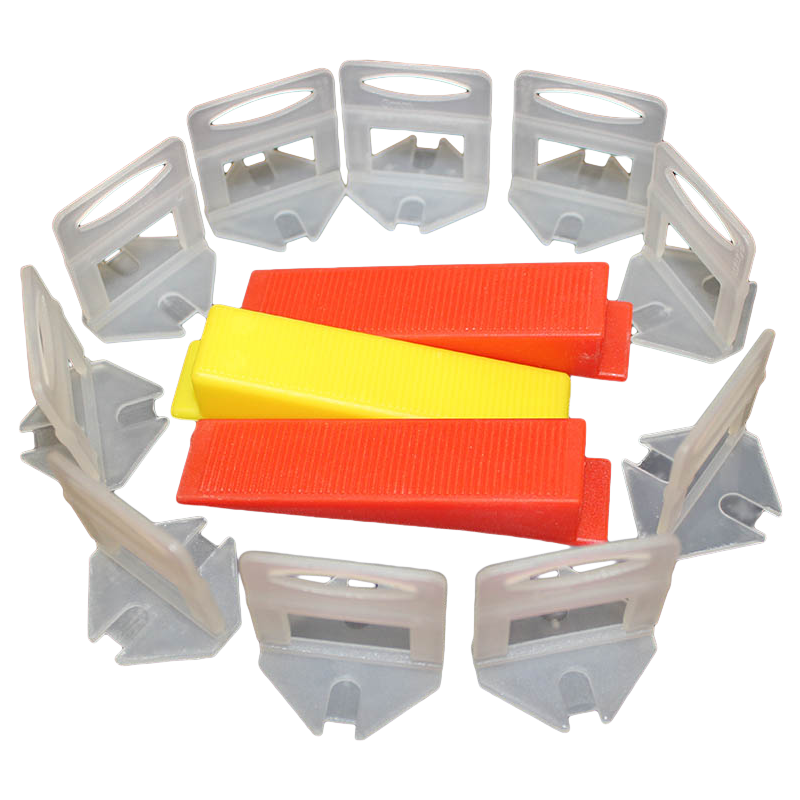
- Tile cutter and spacers
- Level and measuring tape
- Knee pads and work gloves
- Goggles and dust mask
⚙️ Assembling the Electric Tile Suction Cup Correctly and Safely
Correct assembly ensures stable vacuum, protects the motor, and improves tile handling accuracy. Follow each step in order and never force parts into place.
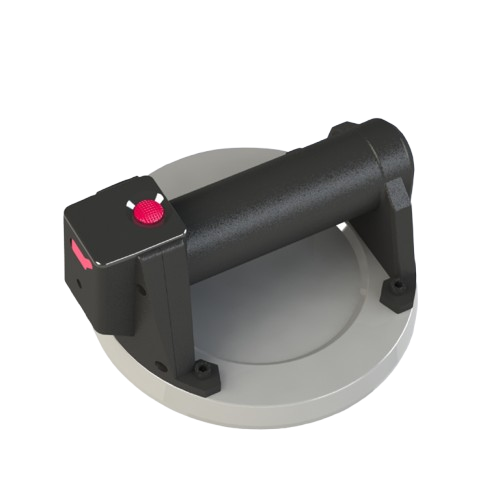
If you use models like the YG2003 electric vacuum sucker, read the assembly diagrams carefully before your first installation.
1. Attach or Check the Suction Pad
Confirm the suction pad is fully seated and locked. Some models use screws; others use quick‑lock rings to secure the pad to the main body.
- Align pad with mounting holes
- Tighten screws diagonally
- Check for pad wobble
- Test by dry pressing on glass
2. Install Battery or Connect Power Cable
Fit the battery until it clicks or plug in the power cord firmly. Loose connections can interrupt suction and create unsafe stops while lifting tiles.
| Power Type | Checkpoints |
|---|---|
| Corded | Inspect cable, plug, and socket |
| Battery | Charge status and secure latch |
| Adapter | Correct voltage and polarity |
3. Verify Control Buttons and Indicators
Press each button briefly to confirm it responds. Check LED indicators for power, vacuum status, and errors before lifting any tile or slab.
- Locate on/off and vacuum buttons
- Note suction level controls
- Confirm warning light behavior
- Practice use with no load
4. Data Check: Assembly Errors and Performance
The following bar chart simulates how proper assembly reduces common problems and improves working efficiency when using the Y1689 8‑inch model.
When correctly assembled, the Y1689 8inch Electric Vacuum Suction Cup shows fewer issues and more stable suction power during tile installation work.
🔌 Power Connection, Switch Operation, and Suction Force Adjustment Guidelines
Good power management and correct switch use keep suction stable. Adjust suction only as needed to protect tiles and reduce tool wear.
Always follow the rated voltage and avoid damp outlets or extension cords with damage or loose joints.
1. Connect Power Safely and Test Idle Run
Plug into a grounded socket or attach the charged battery. Run the motor without a load for a few seconds to confirm normal sound and vibration.
- Keep cables away from sharp edges
- Do not pull the cord to move tools
- Avoid water near outlets
2. Use Switches and Modes in the Right Order
Press the main power first, then engage vacuum. Release vacuum before shutting power off. This simple order reduces sudden tile drops.
| Step | Action |
|---|---|
| 1 | Turn on main power |
| 2 | Press vacuum button |
| 3 | Check suction indicator |
| 4 | Lift and move tile |
3. Adjust Suction for Different Tile Types
Use higher suction for heavy, polished tiles and lower suction for thin or fragile materials to avoid surface damage or cracks.
- Test on a spare tile first
- Increase suction slowly
- Stop if you hear cracking sounds
🧱 Proper Tile Handling Techniques: Positioning, Moving, and Installing Tiles
Correct handling with an electric tile suction cup makes tiles easier to align and keeps joints straight, even on large wall or floor areas.
Use both hands and move slowly to reduce shock and edge damage.
1. Position the Suction Cup on the Tile
Place the pad near the center of the tile, away from edges and corners. Press firmly before turning on the vacuum to build strong contact.
- Keep pad fully inside tile edges
- Avoid grout lines or deep textures
- Check for full surface contact
2. Lift, Transport, and Align Tiles
Lift the tile smoothly and keep it close to your body. Move along a clear path and align with reference lines or spacers before lowering.
| Action | Tip |
|---|---|
| Lifting | Use legs, not just your back |
| Carrying | Walk slowly, watch the floor |
| Aligning | Use level and tile spacers |
3. Set Tile, Release Vacuum, and Final Adjustments
Gently press the tile into adhesive, tap with a rubber mallet if needed, then release vacuum and check joint width and level again.
- Do not twist the tile when releasing
- Clean any glue squeezed out
- Re‑check level before glue cures
🛡️ Safety Precautions, Routine Maintenance, and Fuyang Yigao Trading After-Sales Support
Safe habits, daily cleaning, and regular checks help your electric tile suction cup last longer and work more reliably on every project.
Fuyang Yigao Trading provides support, parts, and guidance to keep professional users productive and protected.
1. Core Safety Rules During Operation
Follow load limits, wear protection, and never work under a suspended tile. Stop at once if you hear abnormal noise or feel strong vibration.
- Wear gloves and eye protection
- Keep hands clear of pinch points
- Do not let others stand under tiles
2. Cleaning, Inspection, and Storage
After each job, wipe the pad, vents, and housing. Check moving parts and store the tool in its case, away from direct sunlight and moisture.
| Task | Frequency |
|---|---|
| Pad cleaning | After every use |
| Cable and plug check | Weekly |
| Seal inspection | Monthly |
| Full function test | Before big projects |
3. Fuyang Yigao Trading After-Sales and Support
Keep your invoice and product serial number. Contact Fuyang Yigao Trading for warranty, spare parts, technical advice, and recommended service centers.
- Warranty and repair service
- Original replacement parts
- Operation and maintenance guidance
Conclusion
By following these complete installation and operation steps, you can use your electric tile suction cup more safely, accurately, and efficiently on every project.
Prepare the worksite, assemble correctly, manage power, and maintain your tool. With proper care, your equipment will provide steady suction and long, reliable service.
Frequently Asked Questions about Electric Tile Suction Cup
1. Can I use an electric tile suction cup on rough or matte tiles?
You can, but suction will be weaker. Clean the surface well, test on a sample tile, and avoid very uneven or porous finishes that leak air quickly.
2. How often should I replace the rubber suction pad?
Inspect the pad before each job. Replace it when you see cracks, cuts, hardened areas, or if suction drops even after proper cleaning.
3. What should I do if suction suddenly weakens during use?
Lower the tile to a safe surface at once. Check for dust on the pad, air leaks, loose seals, and low battery or unstable power supply.
4. Is one suction cup enough for very large tiles?
Often you need two or more cups for big or heavy tiles. Follow the manufacturer’s load rating and use extra support if tiles are oversized.
5. How do I store the suction cup between projects?
Turn off power, clean the pad, and place the tool in its case. Store in a dry, cool place, away from sharp objects and direct sunlight.
Post time: 06-12-2026